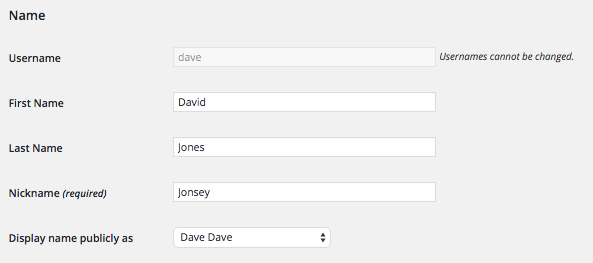
 Have you ever checked your WordPress profile and noticed you can’t change your username?
Did you ever realise that most people choose the same display name as the username, which then gives hackers a legitimate username to try and hack into your site?
Do you use the same username and display name and now want to change your username (because you don’t want to change your display name)?
Then you should change your username.
There are two ways you could do this:-
- through WordPress itself:
- Create a new user with the username (backend name) that you want
- Login as that user and verify your account
- Make sure permissions are right between the users (you’ll want the new user to be (super/) admin)
- Delete the old user and assign all old posts to the new user
- through the database:-
- edit the username for the user in the user table
- edit the username in the site meta table for super admin (only applicable in a multi site install)
I didn’t do it through WordPress itself, since I do like to play with the database :) But in theory it should work and is the suggested theory on multiple sites.
Let’s break down the second option:
- Make a backup of the database
- Open the database using your chosen method
- for me this is to log into my providers cPanel, and select myPHPAdmin
- go to the users table (not the usermeta table). The table will be called something {DB_Prefix}_users (usually wp_users or wp_x_users in a multisite install where x is the identifier for the site).
- change the username field to the new desired name
- when you save the entry you will most likely be kicked out of the backend immediately, simply login with your new username and all is good to go
- if you do NOT have a MultiSite install, your job is done. If you DO have a multisite install, read on:
- still in the database, navigate to the wp_sitemeta table and look for the meta_key: site_admins.
- There will be an entry like: <pre>a:1:{i:0;s:4:”john”;}</pre> and change it to the username you created in step 2. You will also need to change the “S:n” (in this case “s:4”) to a new value depending on the length of your username. So you’ll note for “john” it’s 4. For “john-you-won’t-guess-this-827646″ you would make the entry:<pre>a:1:{i:0;s:31:”john-you-wont-guess-this-827646”;}</pre>. For reference, the “i:0” is Index 0. If you have multiple users here, this line will have multiple indexes with each one serialised onto the line and having their own section. Make sure you change the correct one(s).
Not doing this final step will not kick you from the individual site admins, but it will prevent you from getting to the Network Settings area to add plugins, themes and do other “network” maintenance things (like adding or removing sites amongst others).
I’ll let you know now, I learned about step 3 the hard way after being locked out from the Network Settings area after changing my main username.
I could do everything an admin could do for their site, I just could no longer administer the network.
Searching the net found this entry on WordPress.org and solved my problem.