
I have a few Mac Minis floating around and some time ago I upgraded one of them to Mavericks. It did have an older version of Snow Leopard on it (pre 10.6.8) and after connecting it to the Internet and upgrading it to 10.6.8, I was able to download and install Mavericks.
But I didn’t want to do an upgrade, I wanted a whole fresh install. Using the upgrade version from the App Store, a clean install isn’t an option.
Fortunately, it’s not that hard to do.
Today, I wanted to do it again. This time for a Mac Mini running Snow Leopard Server 10.6.2, and I wanted to try Yosemite. I had to go look up how I did it last time, and this time I thought I would document it.
This can be broken down to the following steps:
- download the required update files,
- create a bootable usb key,
- install the upgrade to the key, and
- reboot and do the install.
1. Download update files
This in itself can be a two step process depending on your current version of OSX. To install any of the upgrades from the App Store, you must be already running Snow Leopard 10.6.8 or later. If all you are doing is upgrading your current system and you already have 10.6.8, then proceed to the App Store, download and install the upgrade.
Download the latest version of Snow Leopard
Note: you only need to do this first step if you want to upgrade an existing install. If you go ahead and create a bootable USB key, you can skip this “upgrade Snow Leopard” part.
To upgrade earlier versions of Snow Leopard to 10.6.8, grab one of the following update files.
Standard Install Upgrade: http://support.apple.com/kb/DL1399
Server Upgrade: http://support.apple.com/kb/DL1402
(links found courtesy of: http://www.macstrategy.com/article.php?28 )
Download (but don’t install) OSX Upgrade
Go to the App Store and download the OSX Upgrade. If it says something other than “download” that’s ok. It might say “Free”, “Install”, or “Upgrade”. Whichever it says, click it and it will begin to download.
Once the download is finished, it will start and the install/upgrade screen will appear. DO NOT GO ANY FURTHER. 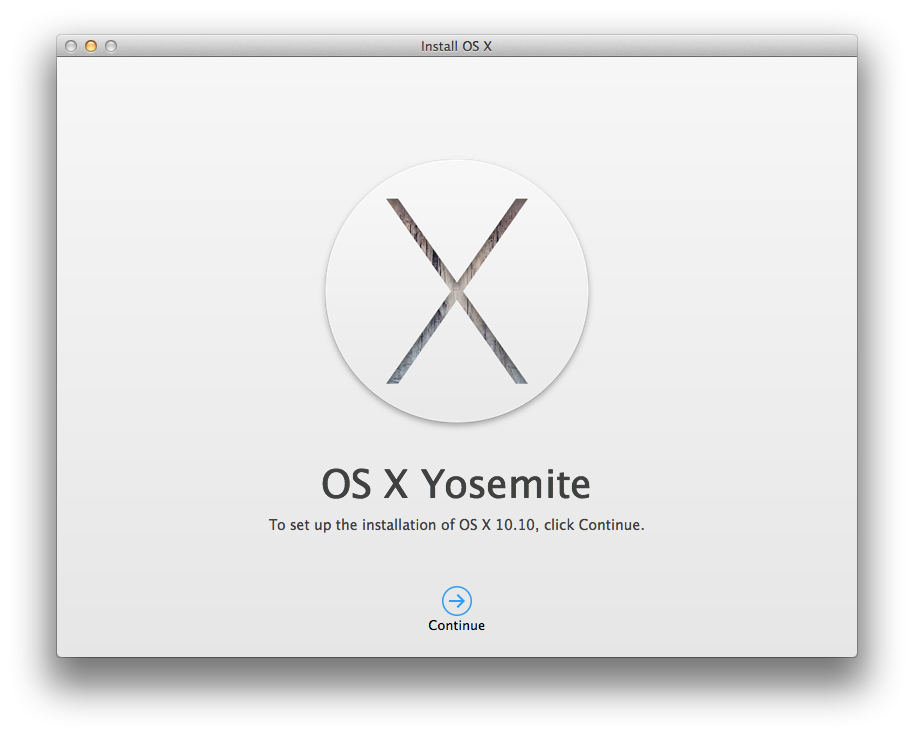 Close the application. You will now see in your Applications folder the upgrade file for Yosemite.

2. Create a bootable USB device
 Plug the USB key into an OSX machine and start Disk Utility. Select the main USB device (not the child partition if it has one—this one didn’t) and change Partition Layout from “current” to “1 Partition”. For “Partition Information: Name” just type something simple (without spaces or special characters). What you call it doesn’t really matter because in the next step, it will be changed by the system anyway.
Towards the bottom of the screen, select “Options…” and make sure that the first option, “GUID Partition Table”, is selected. This will allow for the key to be bootable.
Click “OK” and “Apply”.
3. Install the upgrade to the key
Open up Terminal and enter the following command, substituting USBKEYNAME for the Partition Name you created in the last step.
sudo /Applications/Install\ OS\ X\ Yosemite.app/Contents/Resources/createinstallmedia --volume /Volumes/USBKEYNAME --applicationpath /Applications/Install\ OS\ X\ Yosemite.app --nointeraction
This step could take a little time, and in the absence of a LED or something on the key to show activity you may think the process has stalled. Be patient, it hasn’t stalled.
4. Reboot and do the install
Leave the key in the USB port and reboot. As the computer first powers up, press and hold the OPTION key. Eventually you will get a display that shows hard disks in the machine and a USB option. Select that and boot from the key.
When the initial install dialog comes up, if you go ahead and install, you will only upgrade the system. First you must blank out the partition information so the installer thinks it’s a new system. On the top menu bar will be a utilities option. In there you’ll be able to run Disk Manager. 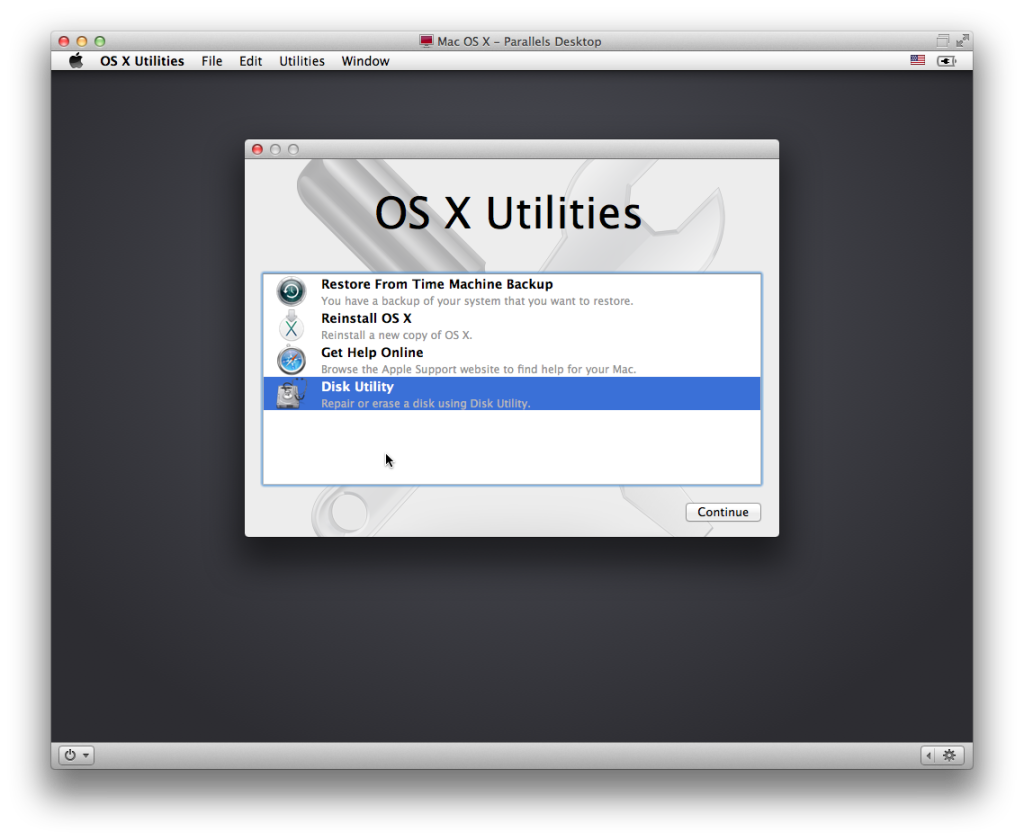 Do the same as before, change the partition from “Current” to “1 Partition” (or however many you want), name the partition and “Apply”. Quit the Disk Utility, continue the installation process, and enjoy your fresh install.
reference: http://osxdaily.com/2013/10/23/create-os-x-mavericks-install-drive/